Recent Roof Coating Projects in Walnut Creek
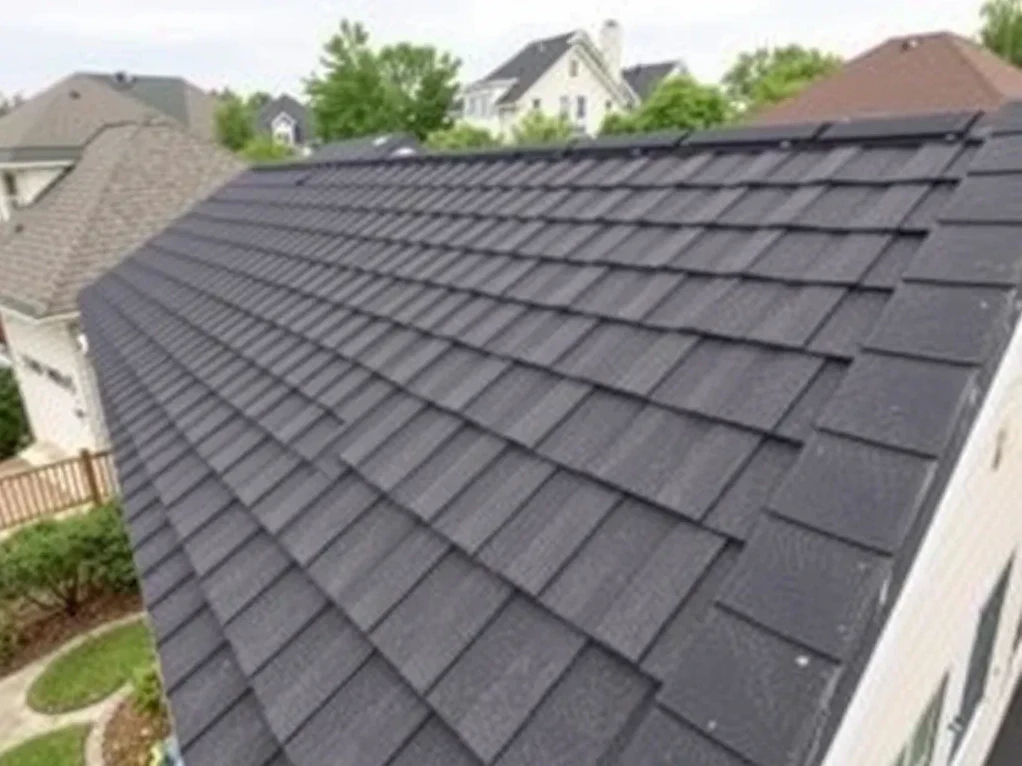
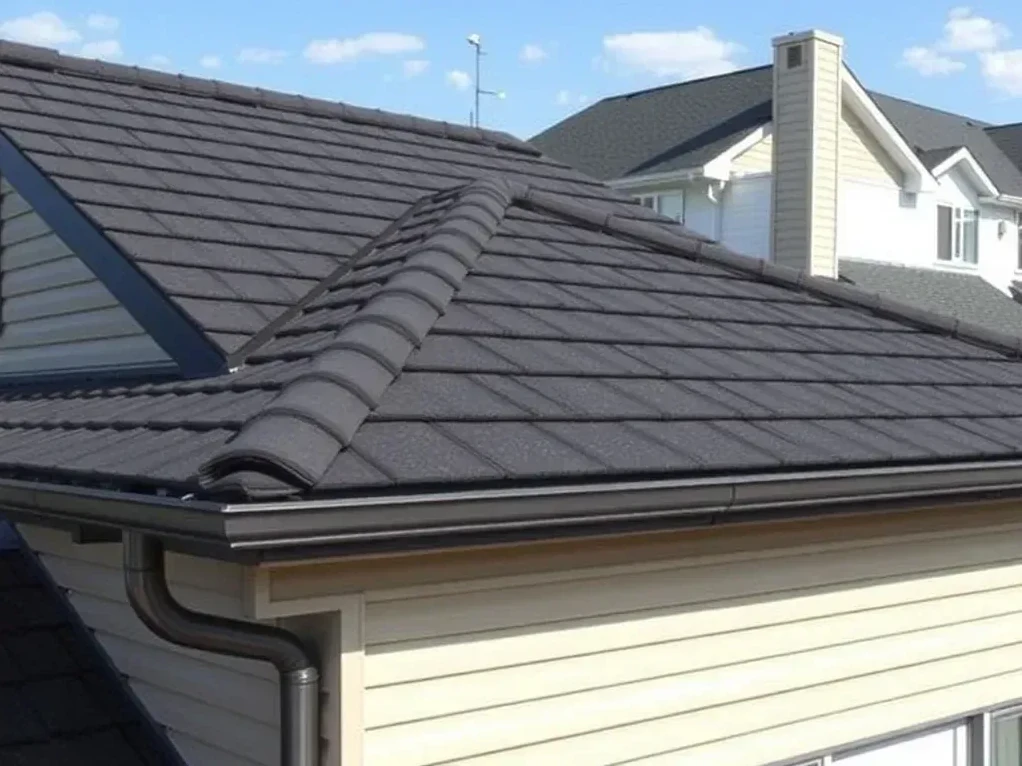
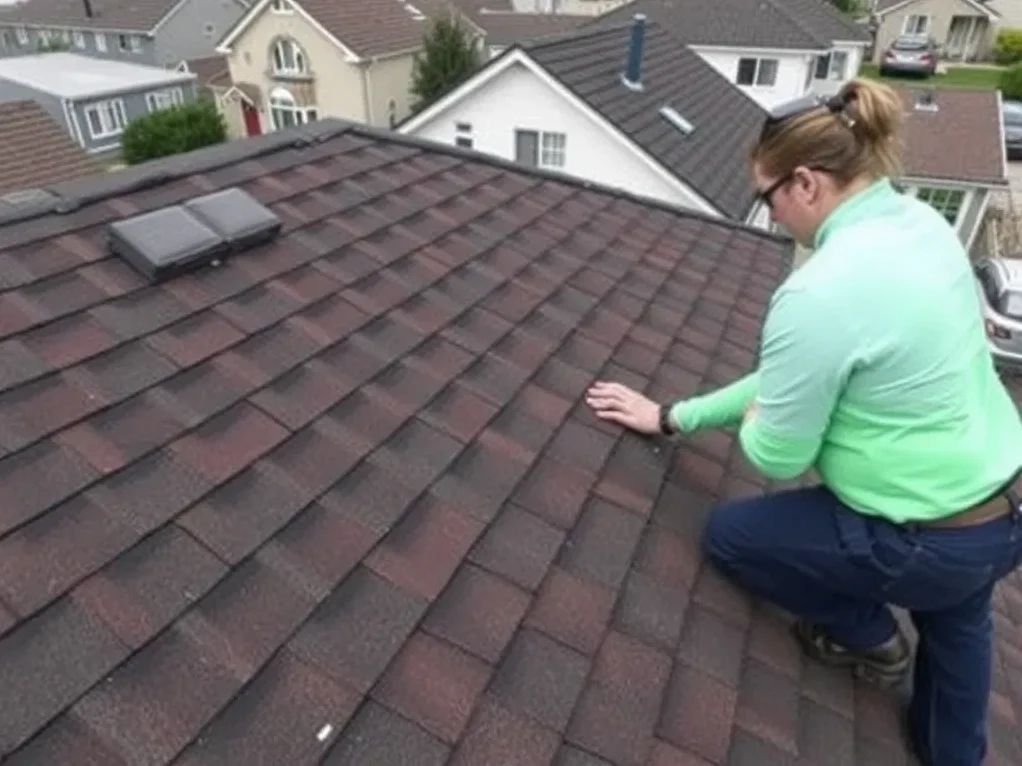
Real work, real roofs — a sample of completed jobs
Walnut Creek Roofers applies reflective roof coating systems that pull an aging rooftop out of the tear-off line and add service life before replacement becomes the only option. Hot, dry summers and steady afternoon winds here dry out asphalt and erode a membrane long before the deck underneath fails. Call 925-503-1377 and we will survey the roof, then tell you plainly whether a coating or a full replacement is the honest call.
Roof coating is a liquid-applied membrane that bonds to a prepared substrate and cures into a waterproof layer. Silicone coating handles ponding water and stays flexible through the seasons, while acrylic coating breathes better over shingle and metal.
Every job starts with a roof condition survey. We scrape failing material, replace wet underlayment or sheathing, prime bare spots, and reinforce seams with fabric before the finish coat. Coverage rate and cure time decide how many passes we schedule.
Cost tracks square footage, roof pitch, and how much prep the surface needs. A reflective coating runs a fraction of a full roof replacement, and it buys real time on a rooftop that is still structurally sound.
On site you will see a ladder at the eave, a safety harness anchored at the ridge, and a scaffold on steep sections.
A pry bar and roofing shovel strip the failed material, while a roofing square, nail gun, and air compressor handle layout and fastener work.
Coating is the wrong product over active rot, a sagging roof deck, or granule loss that has worn through the mat. If the structure moves underfoot, we say so and quote a replacement instead.
Before we quote a coating job, we look at:
We are a licensed & insured Walnut Creek roofing contractor, so you get both numbers, the coating and the replacement, before you decide.
Certified installers and a meticulous process from inspection to cleanup.
Top-tier products backed by manufacturer and workmanship warranties.
Built to withstand Walnut Creek's climate for decades of protection.
We coat roofs across Walnut Creek and the surrounding East Bay, from Rossmoor and downtown out toward the foothills below Mount Diablo.
Real work, real roofs — a sample of completed jobs